Live event
To activate the live event feature, please contact our commercial team.
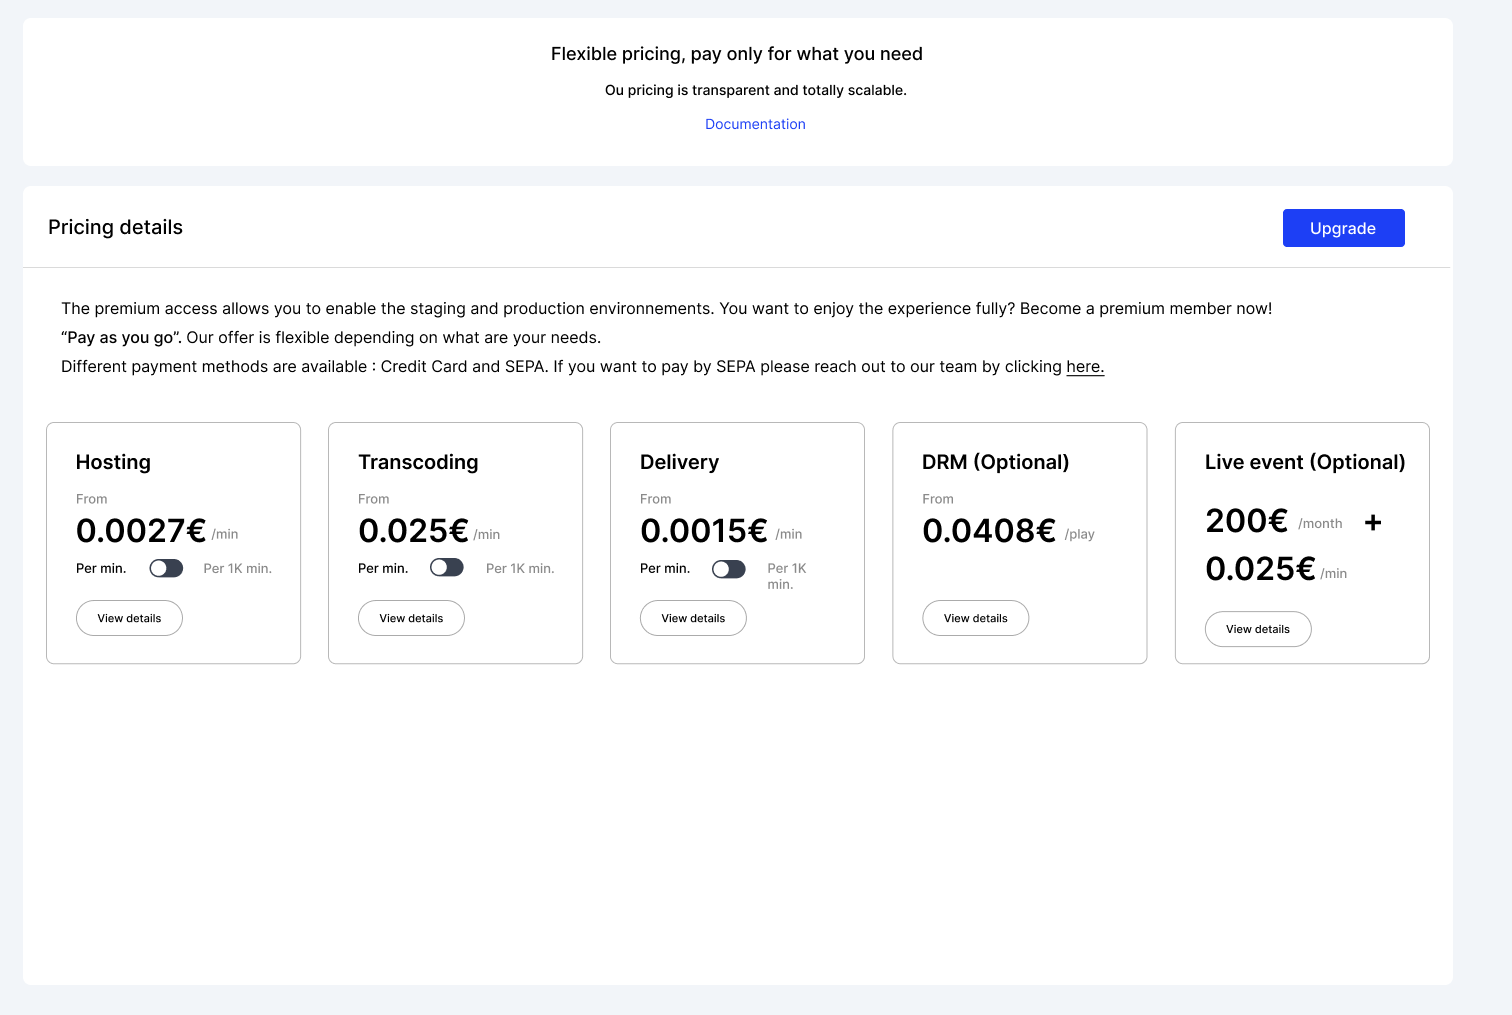
Live event prices
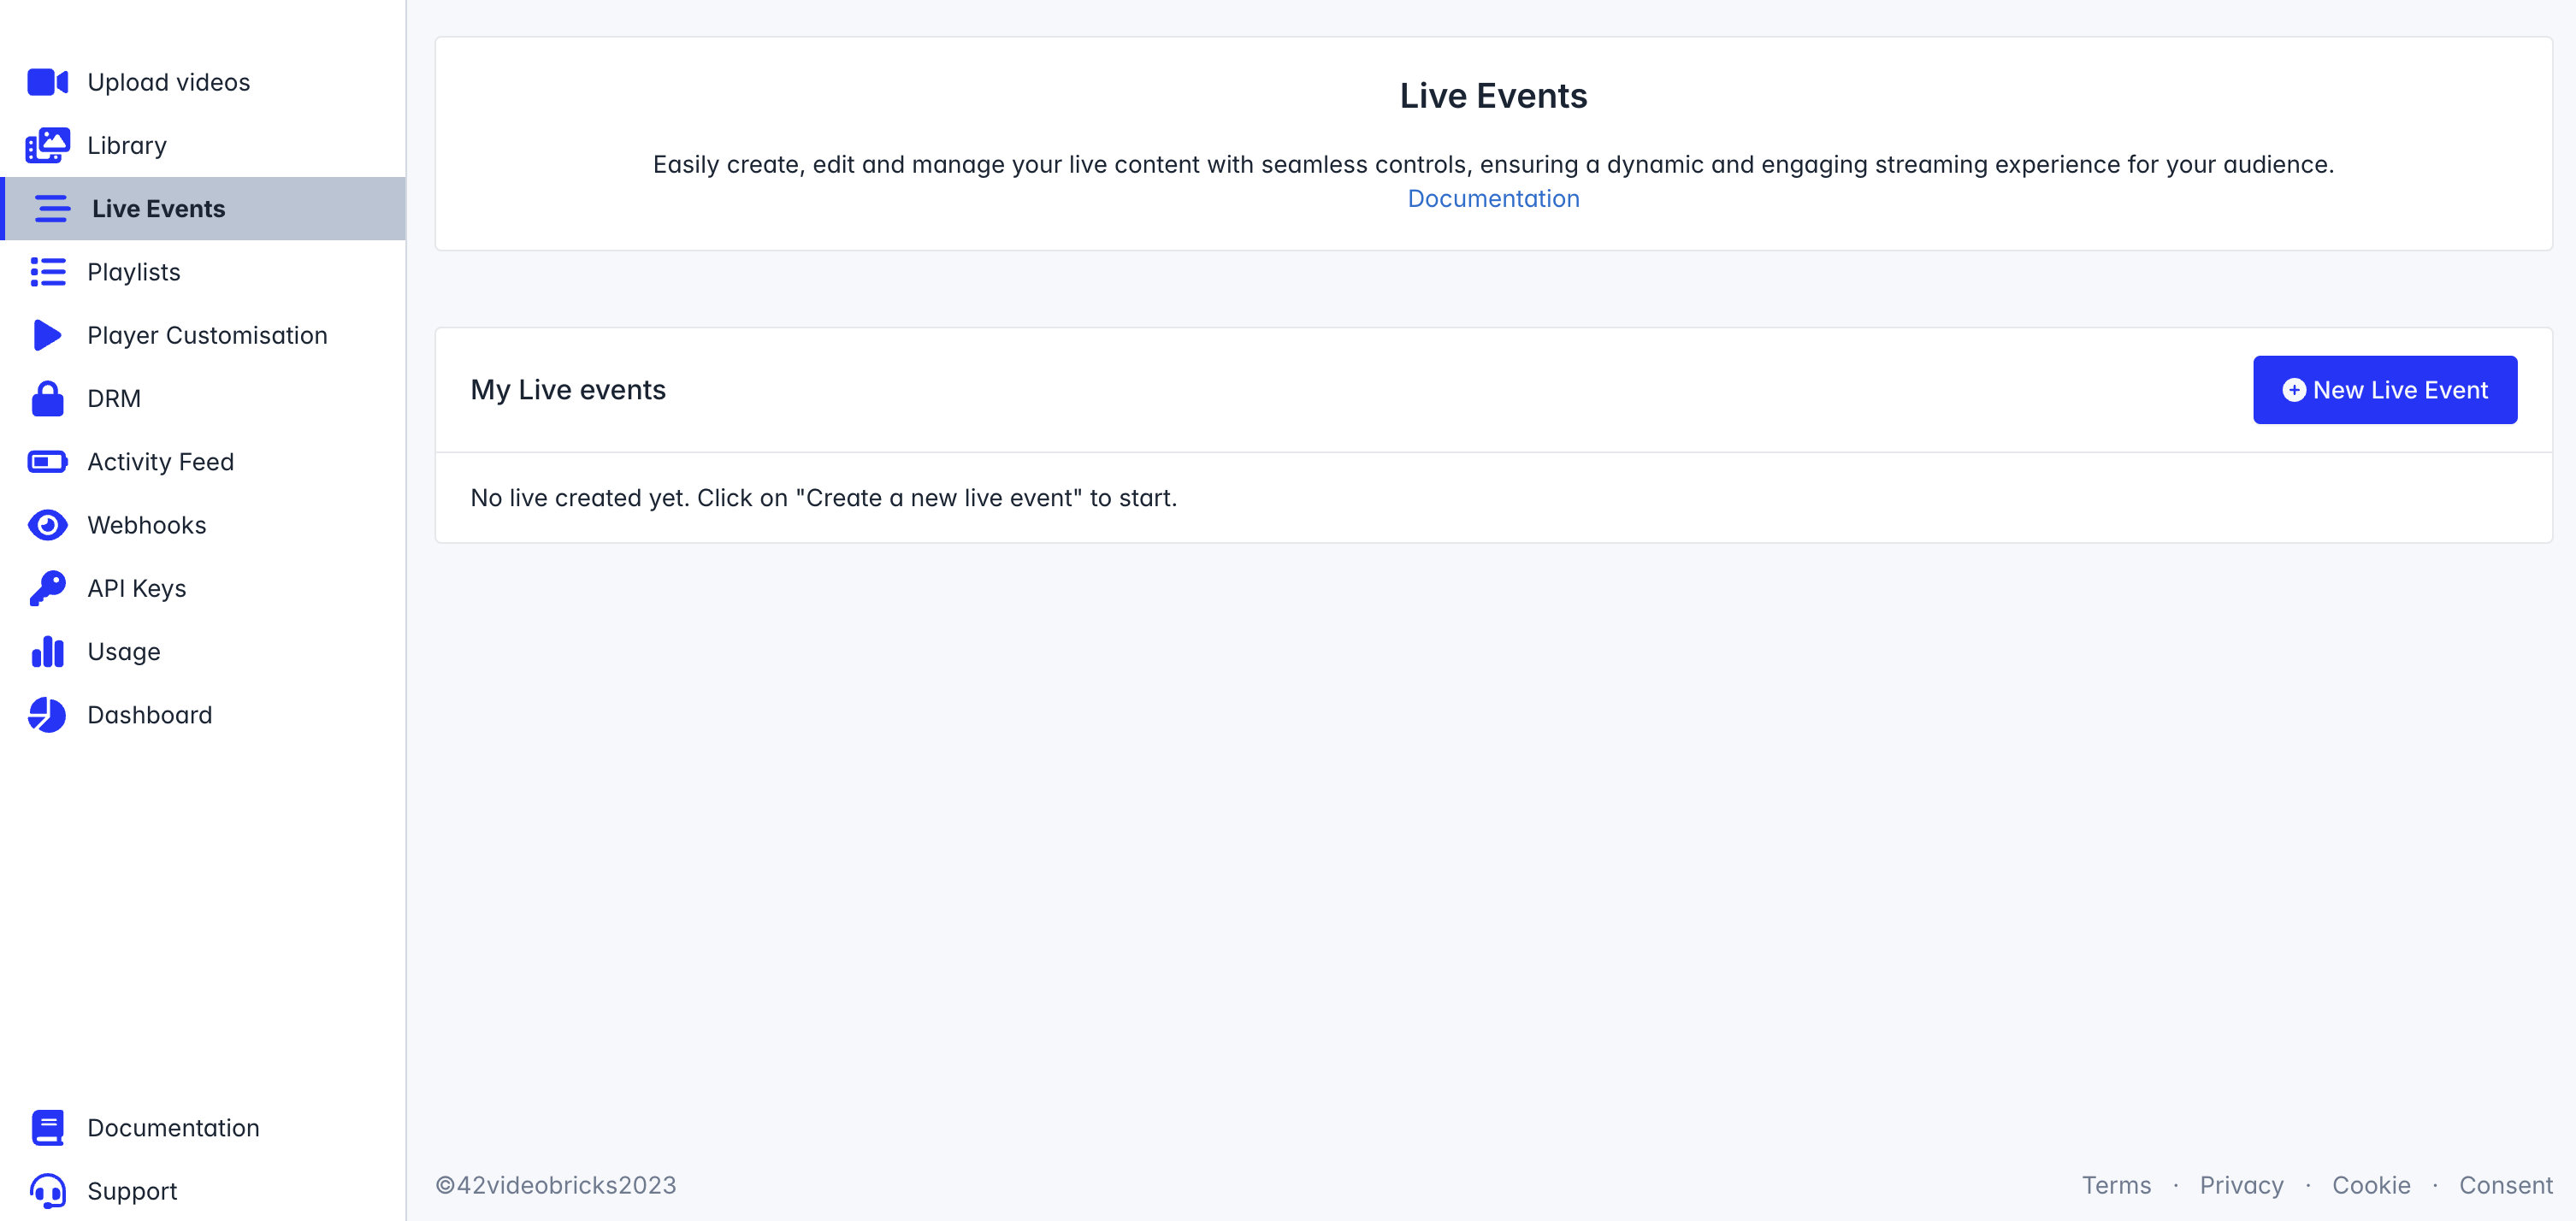
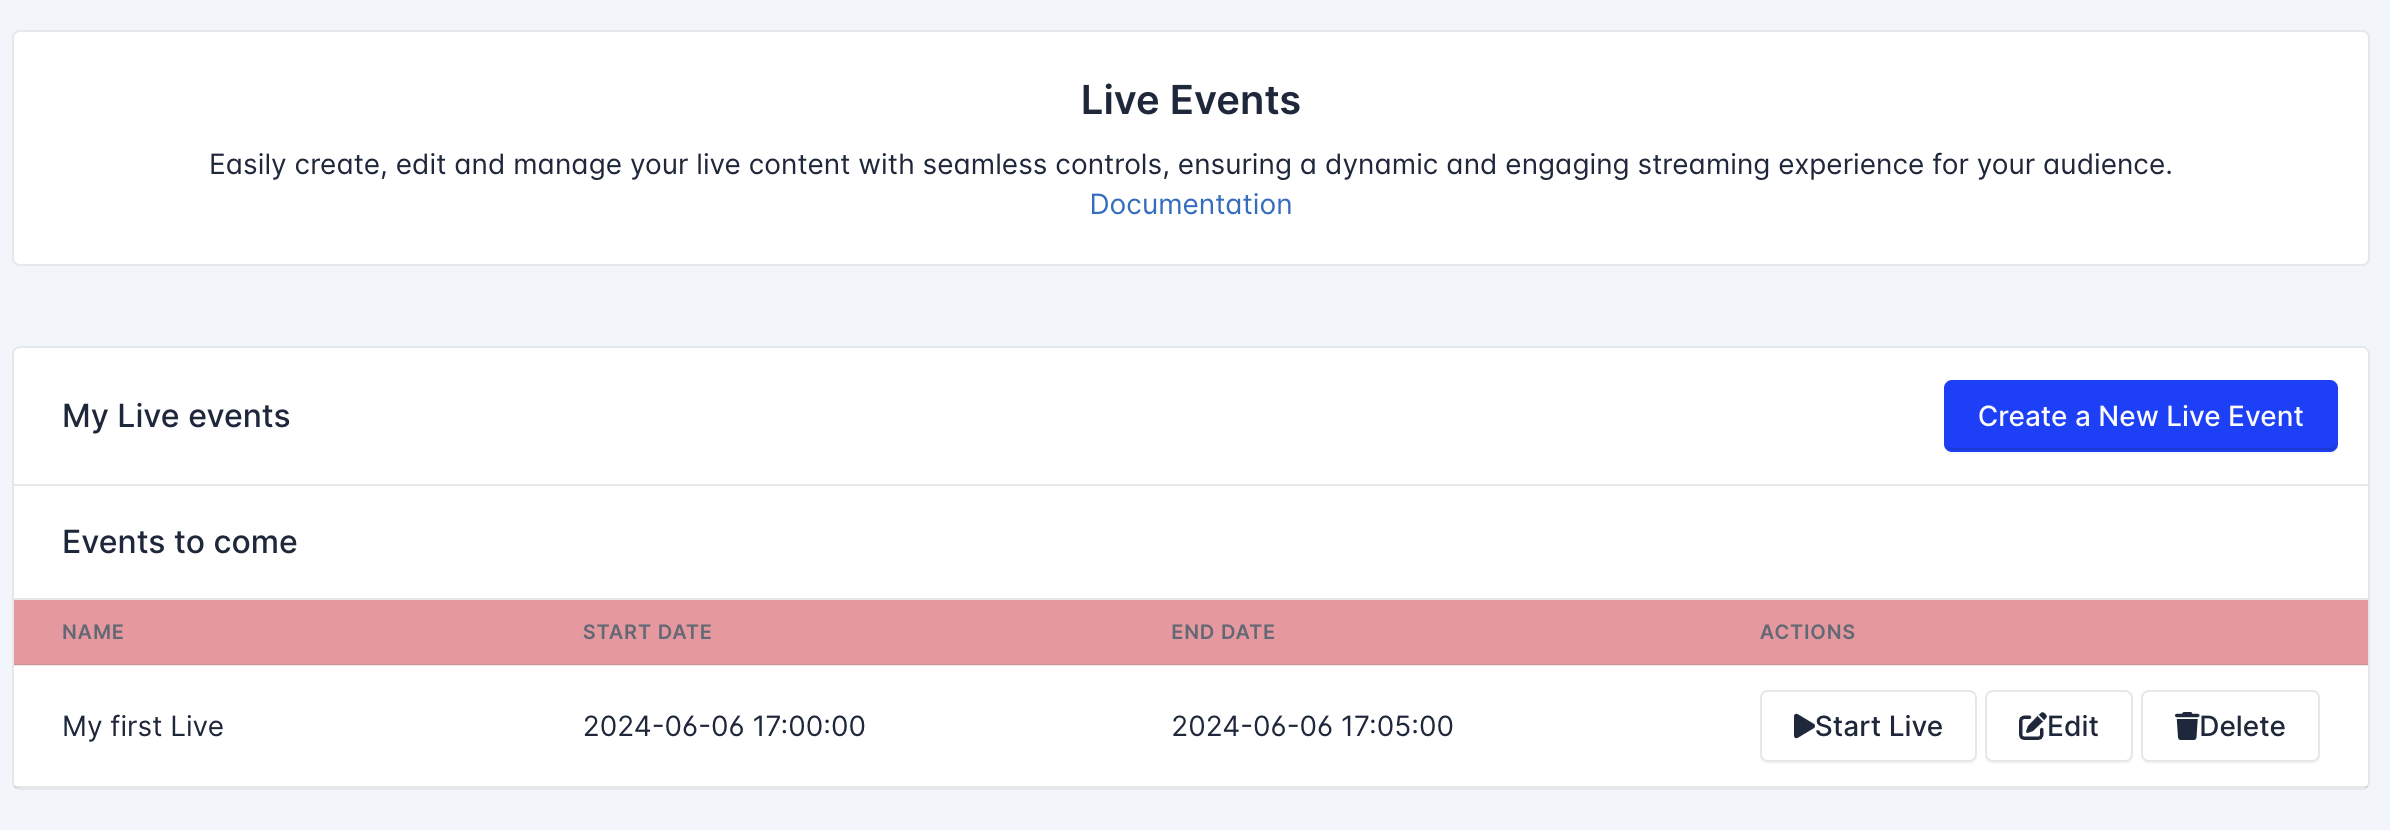
Create a new live event
In order to create a new live event, navigate to the Live events tab and click on "Create a New Live Event"
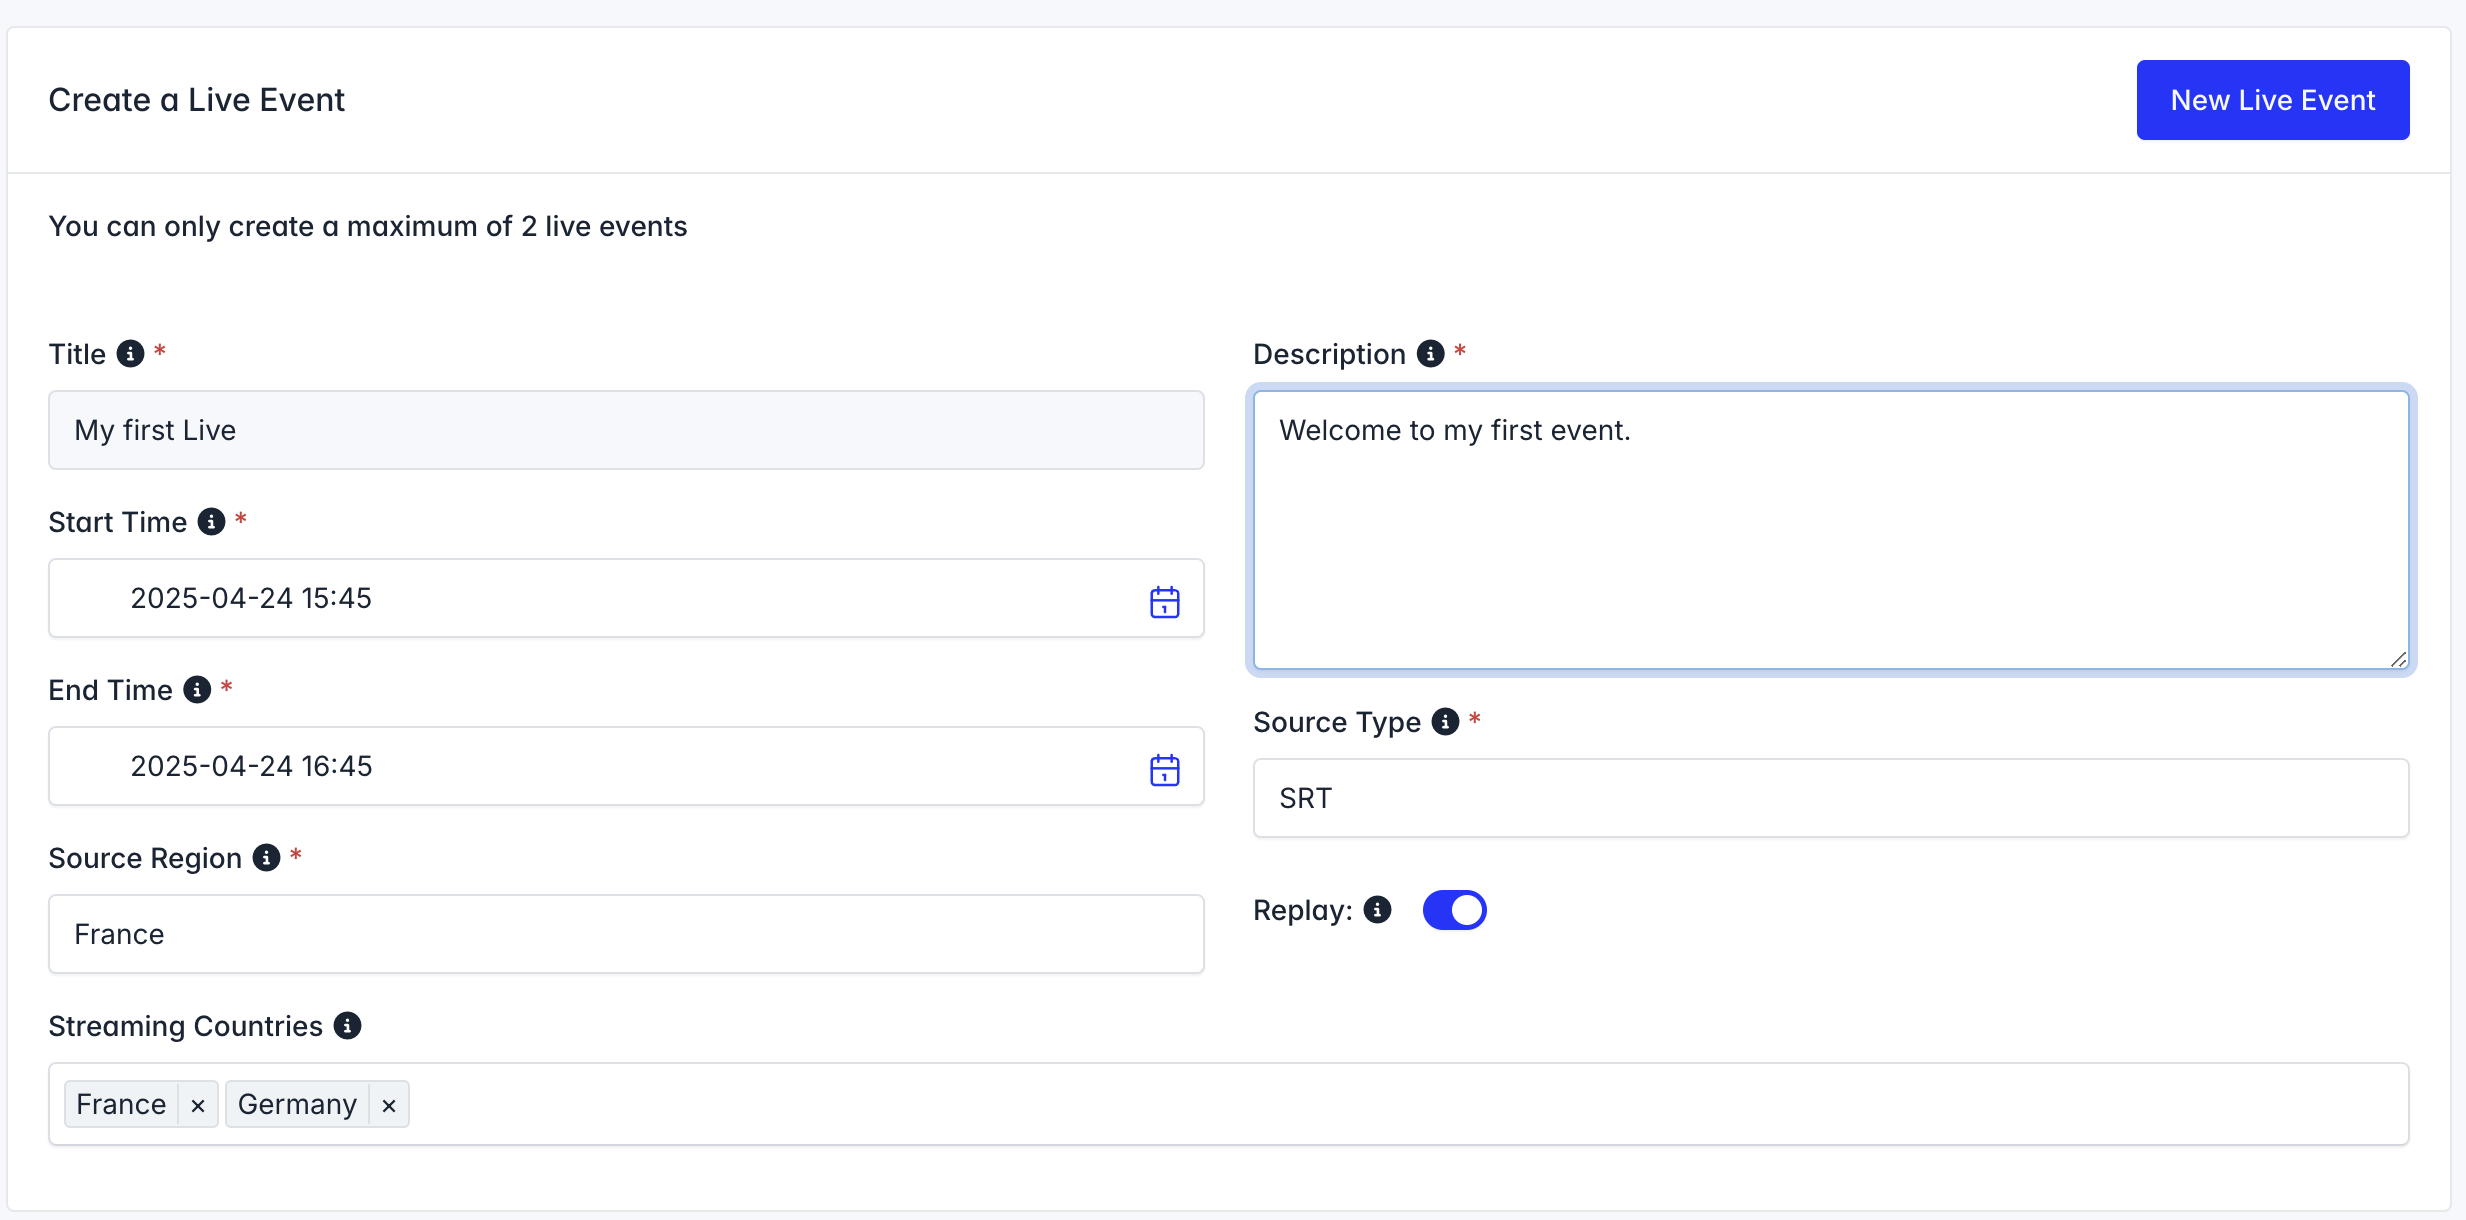
You will need to enter the following information:
- Title of your live event.
- Description of the event.
- Start Time: When does the event start.
- End Time: When does the event stop.
- Source Region: The source region determines where the receiving server will be located. Please choose the one that is closest to where your source input is located.
- Streaming countries: List of countries where the output flow will be authorized to be broadcasted. It serves as a geoblocking measure.
- Source Type: Chosen protocol to send your video feed (SRT or RTMP)
- Replay: By ticking this field, you'll ask for a replay capture of your event. The replay will be automatically generated at the end of your event, with a timing depending of its duration.
Once done, click on "New Live Event"
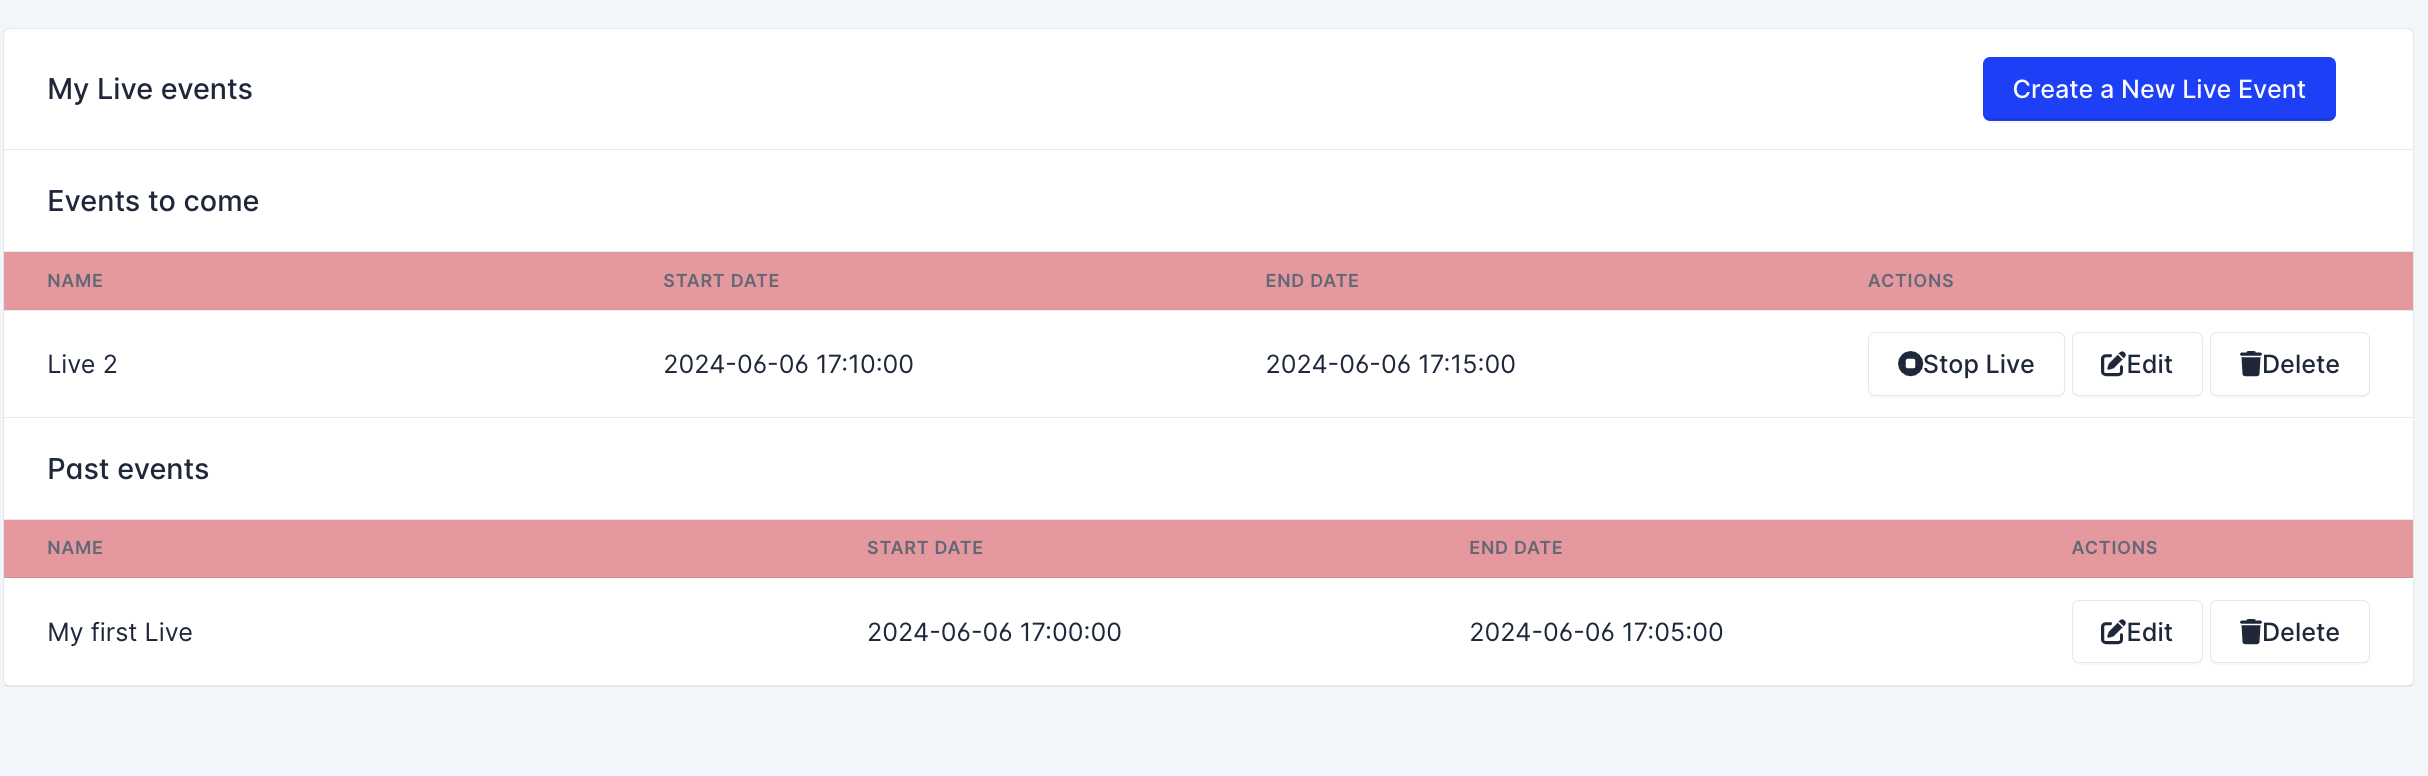
Once your live event has been created, you can find it on the Live Event tab. You will have the possibility to start the live event by clicking on the button "Start Live" (once you reach the Start Date) and "Stop Live" in order to end the live stream.
You can find your previous live events in the table "Pasts Events"

Manage your live event
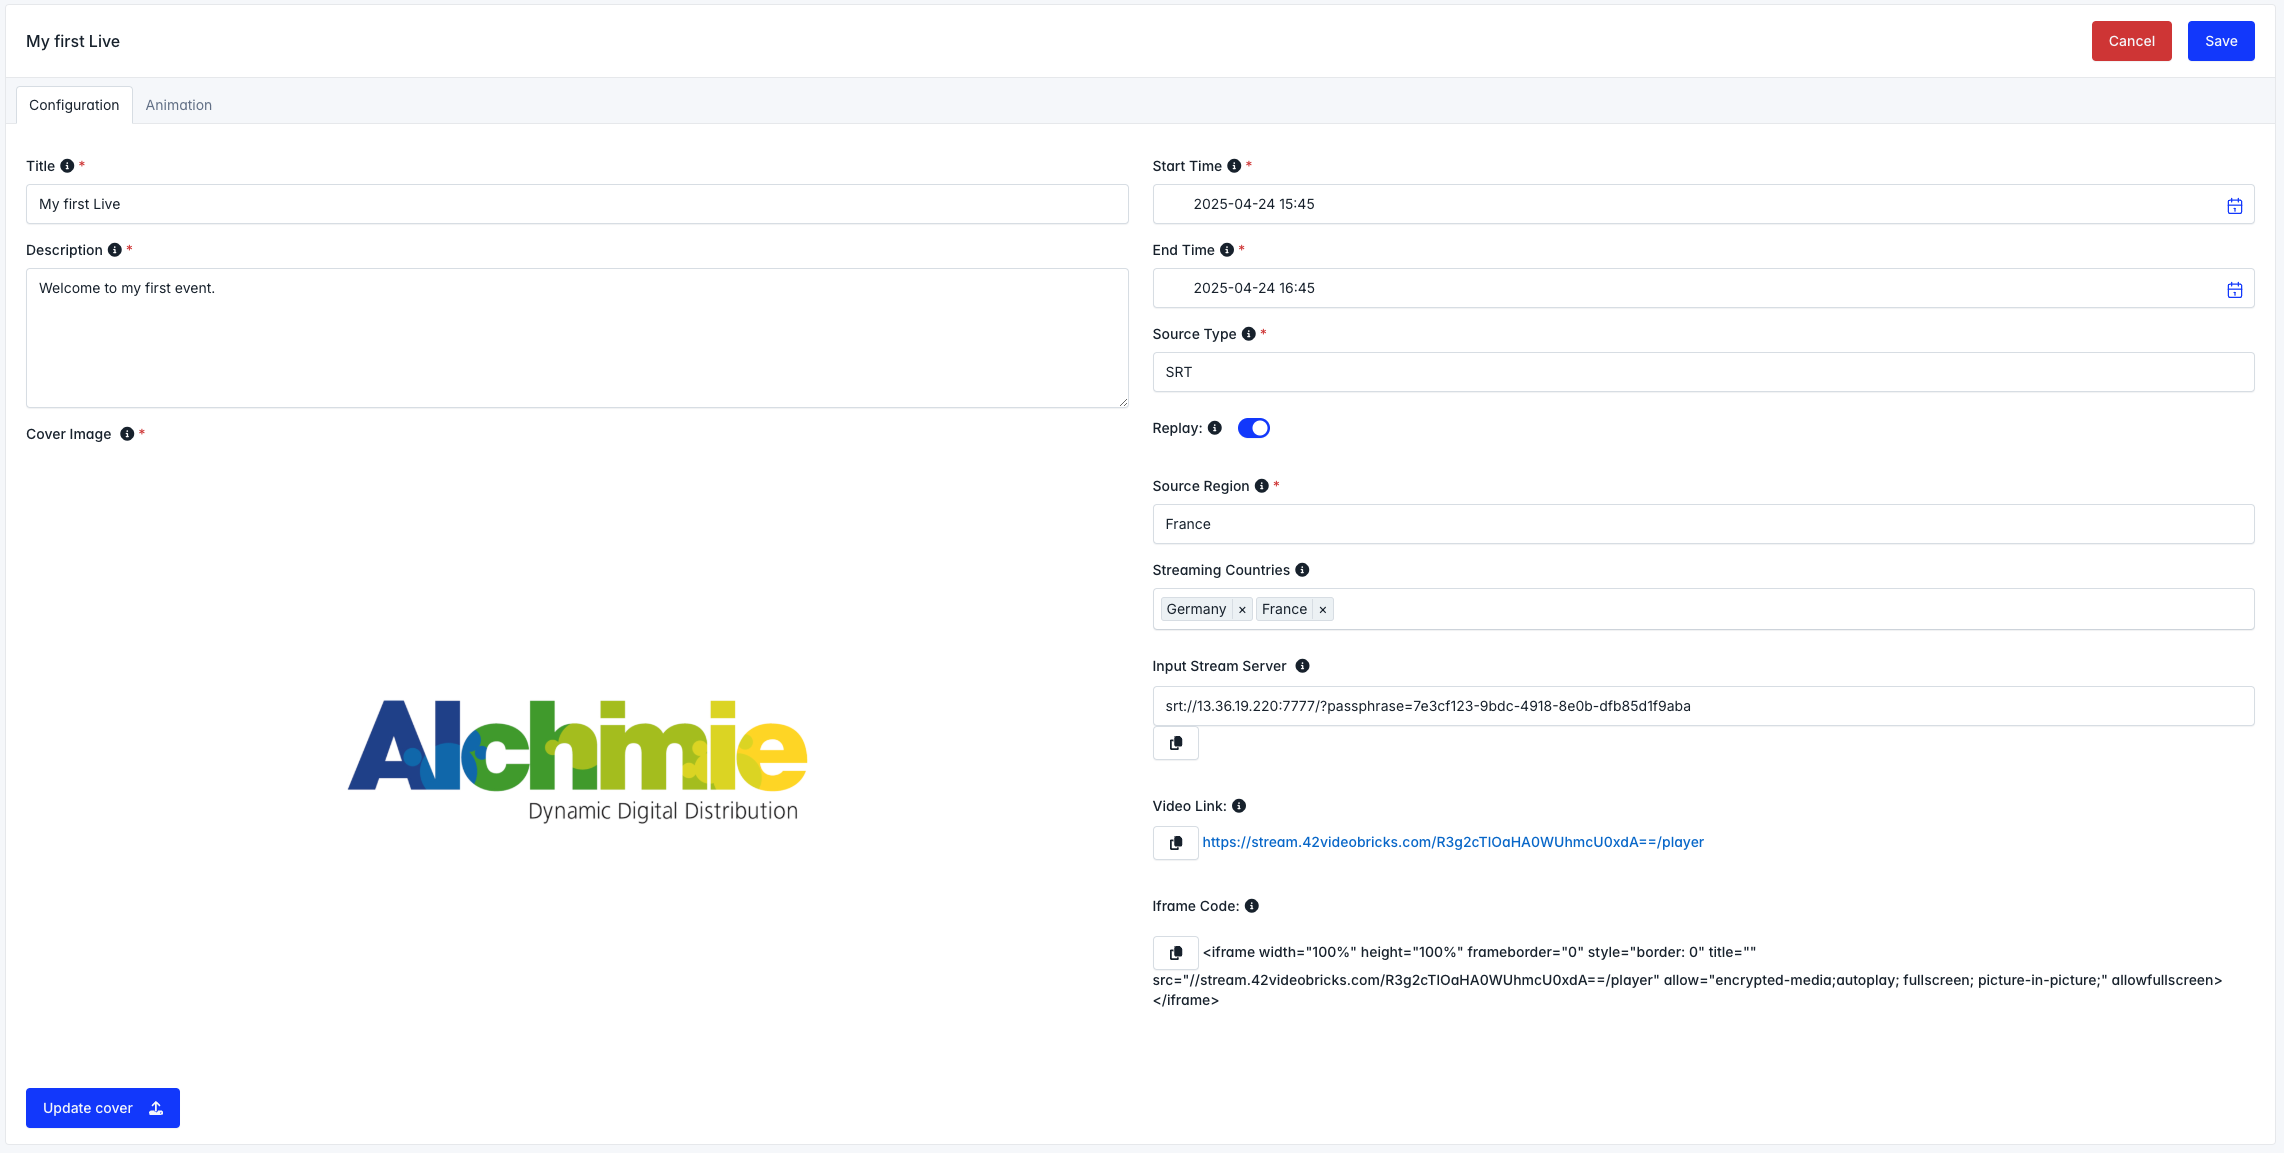
You can manage your live event by clicking on "Edit"
In the Configuration tab, you'll be able to find some useful informations about your event, and change some metadatas.
- Metadata : before your start date, you can update any of the metadata. Once the start date has been passed, some of them are not, like the source region. Fields that cannot be updated will appear as disabled.
- Cover image : you can change it to apply your branding.
- Input Stream Server : The server URI to which you have to push your live stream through your broadcasting method (like OBS). Depending on the Source Type, you may have to fill the info in your broadcasting solution differently :
- SRT : you can copy/paste directly the field value.
- RTMP : The URI contains a security code that you may have to fill in your solution. Just copy the UUID after the "/live/" part.
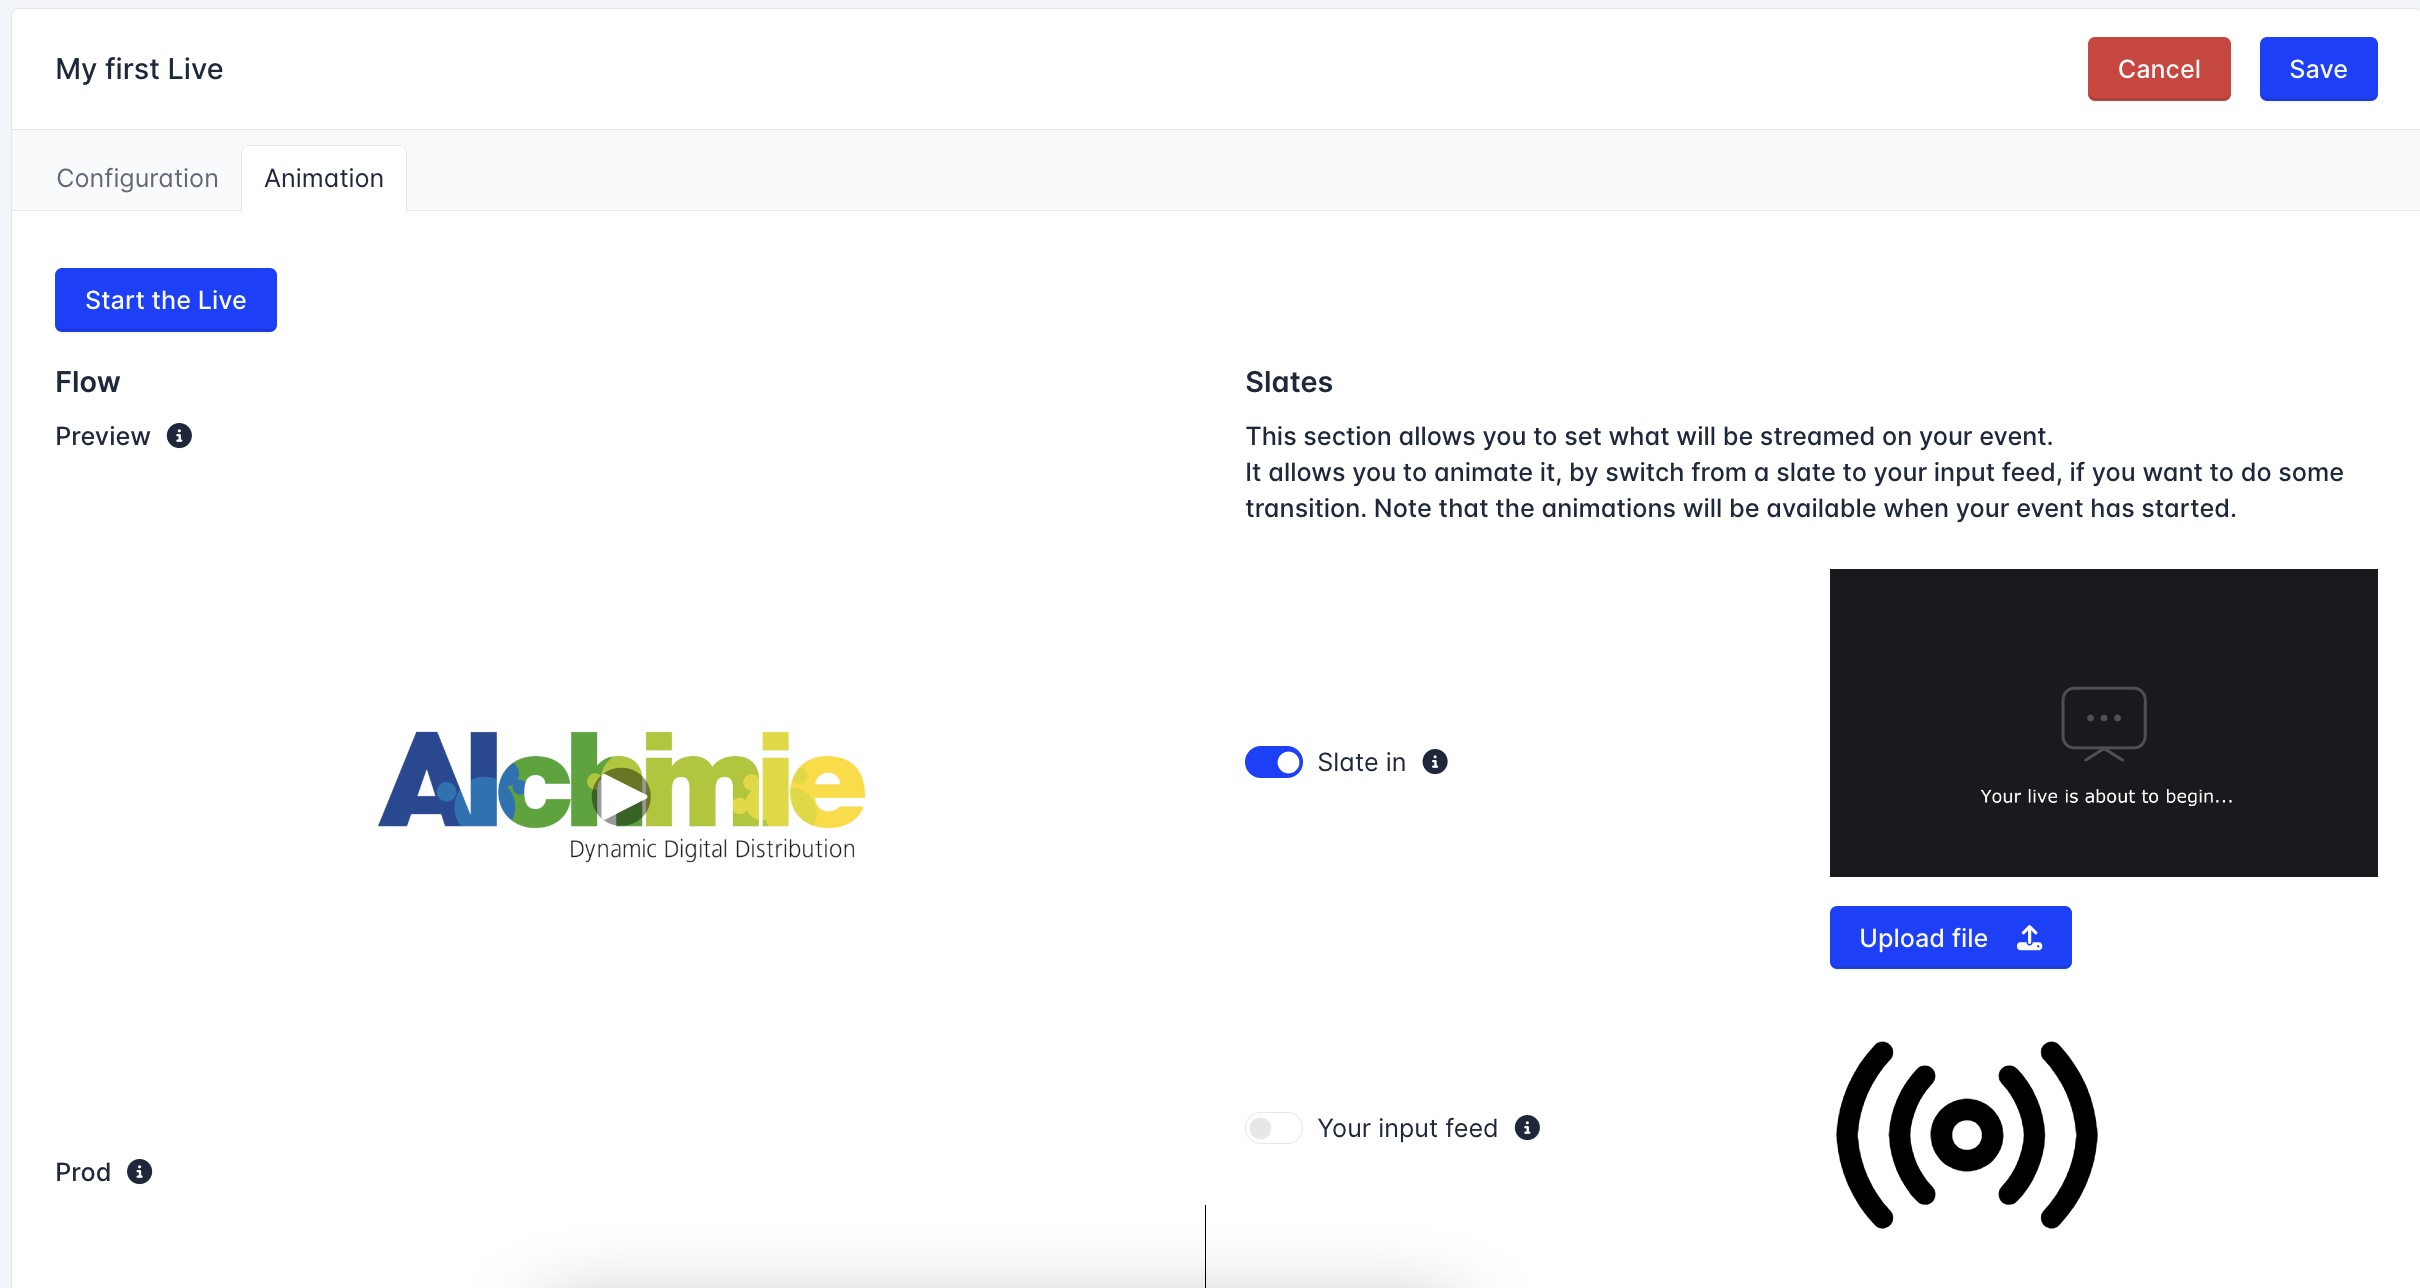
On the Animation Tab, you will be able to:
- Start or Stop your live event (depending on your Start/End date)
- Watch your live event in Production with your slates animation. This is exactly the video that will appear on your front.
You can also add some slate animations to your transitions such as:
- Slate in: This is the image that will be displayed BEFORE your live event starts
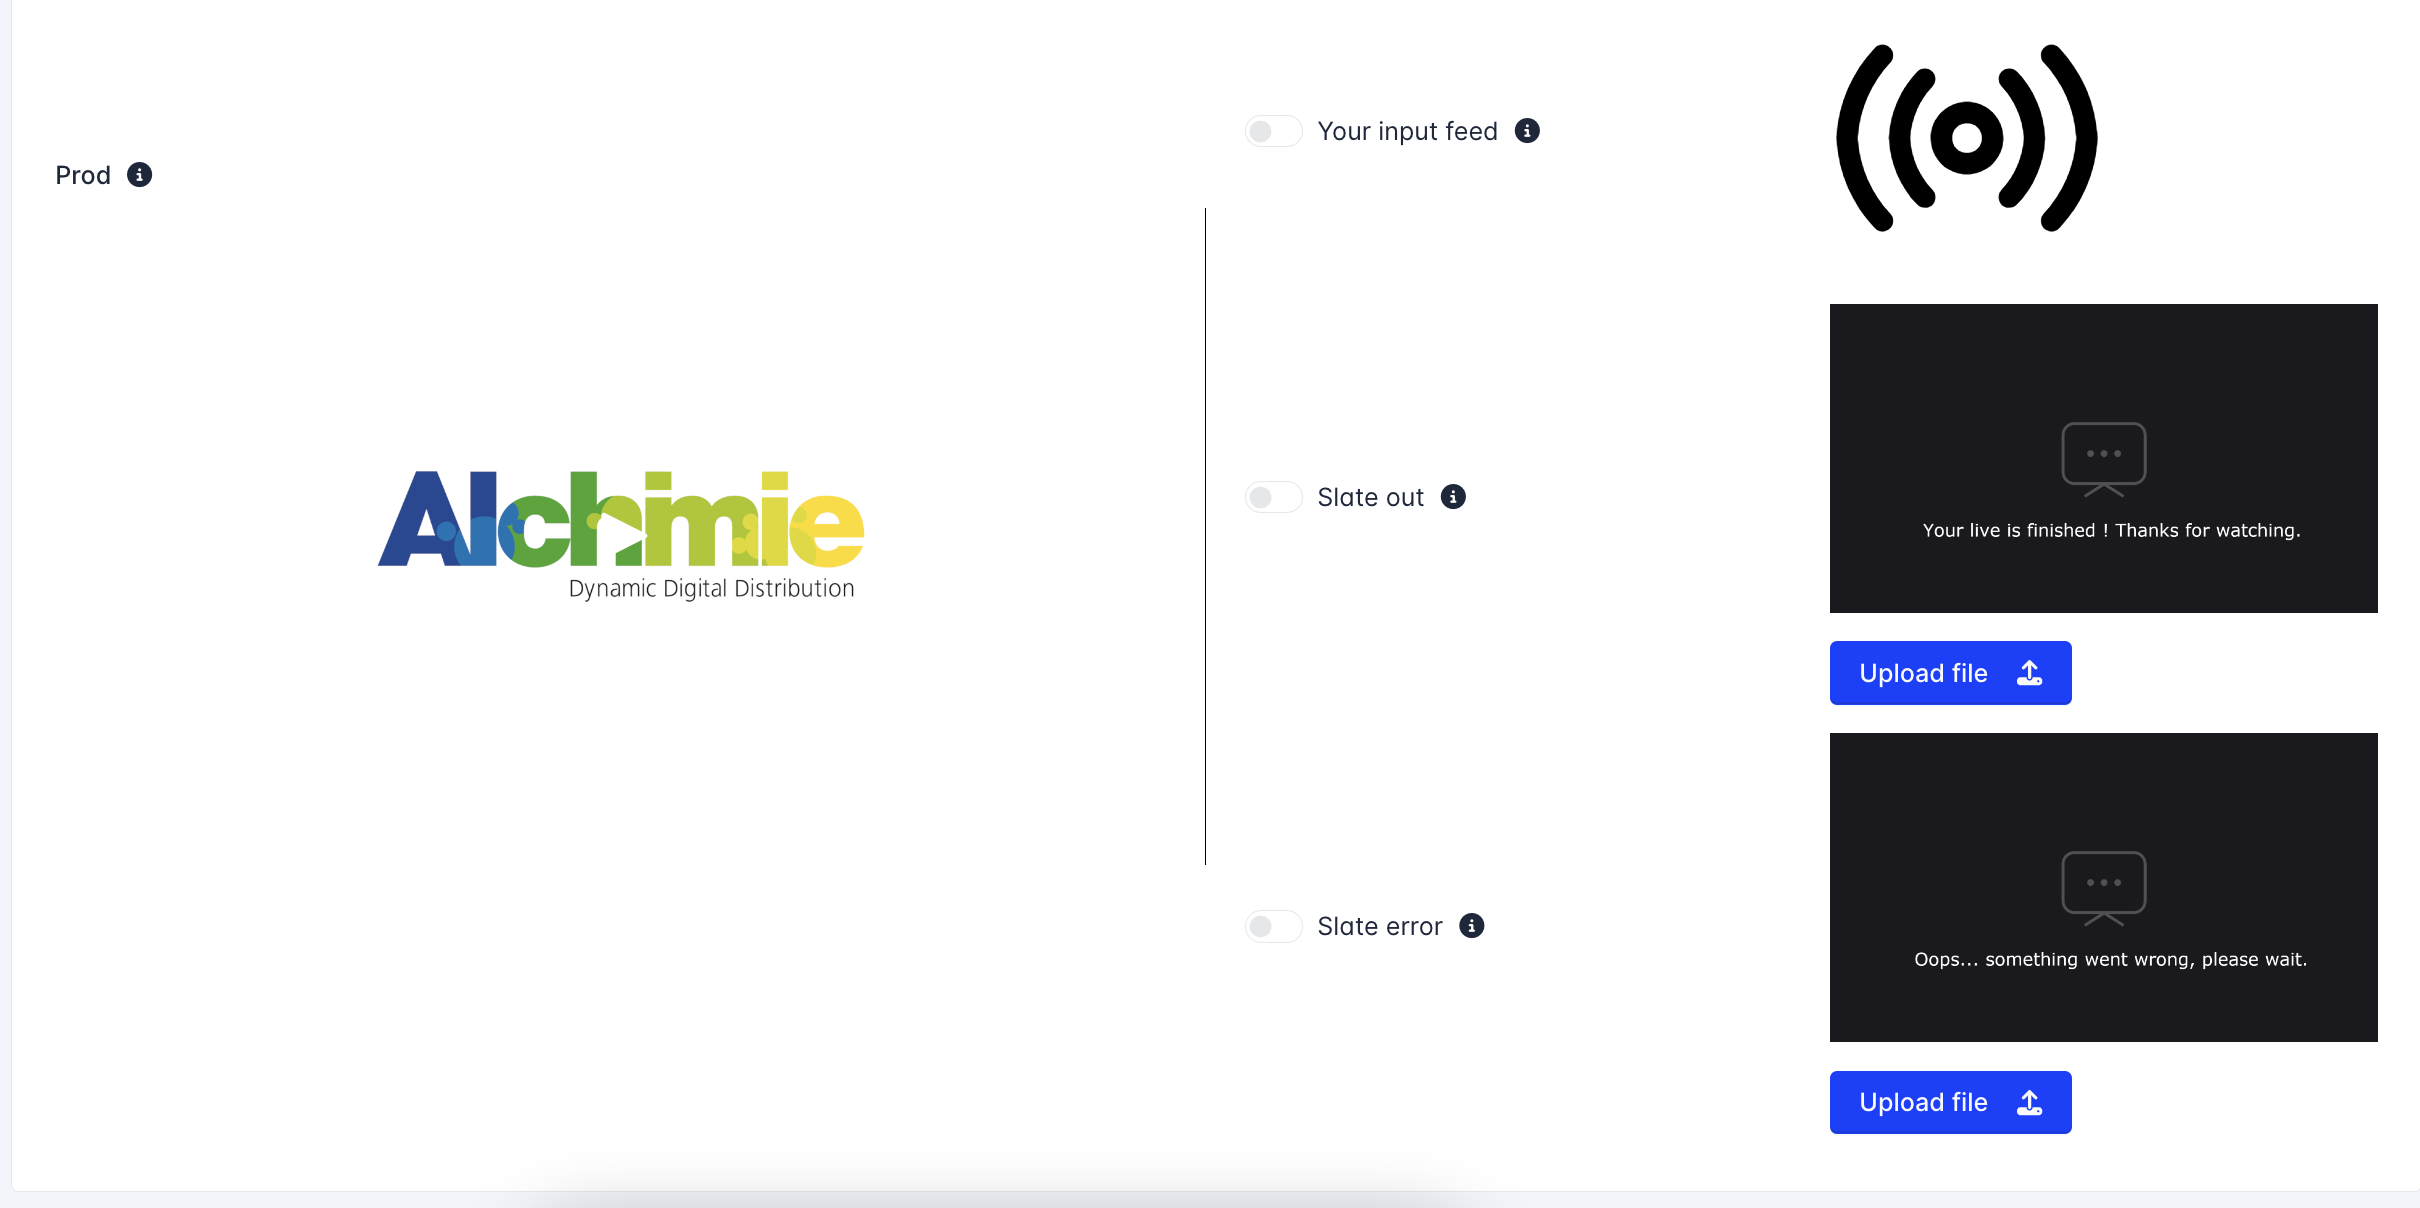
- Slate out: This is the image that will be displayed AFTER your live event has ended
- Slate error: This is the image that will be displayed if there is an error
- Input feed: This what you're sending to 42videobricks
How to create and manage a live event
Updated 17 days ago